> For the complete documentation index, see [llms.txt](https://docs.shoppego.my/tutorials/llms.txt). Markdown versions of documentation pages are available by appending `.md` to page URLs; this page is available as [Markdown](https://docs.shoppego.my/tutorials/en/express-cart/page-builder.md).

# Page Builder

{% hint style="info" %}
Before you follow these steps make sure you :

* Already have the **product you want to make for express cart**
* Already has its **own pages** for you to enter the **express cart function**
* Already subscribed to the **Shoppego Standard plan and above for you to use the page builder function.**
  {% endhint %}

## Get Product Variant ID

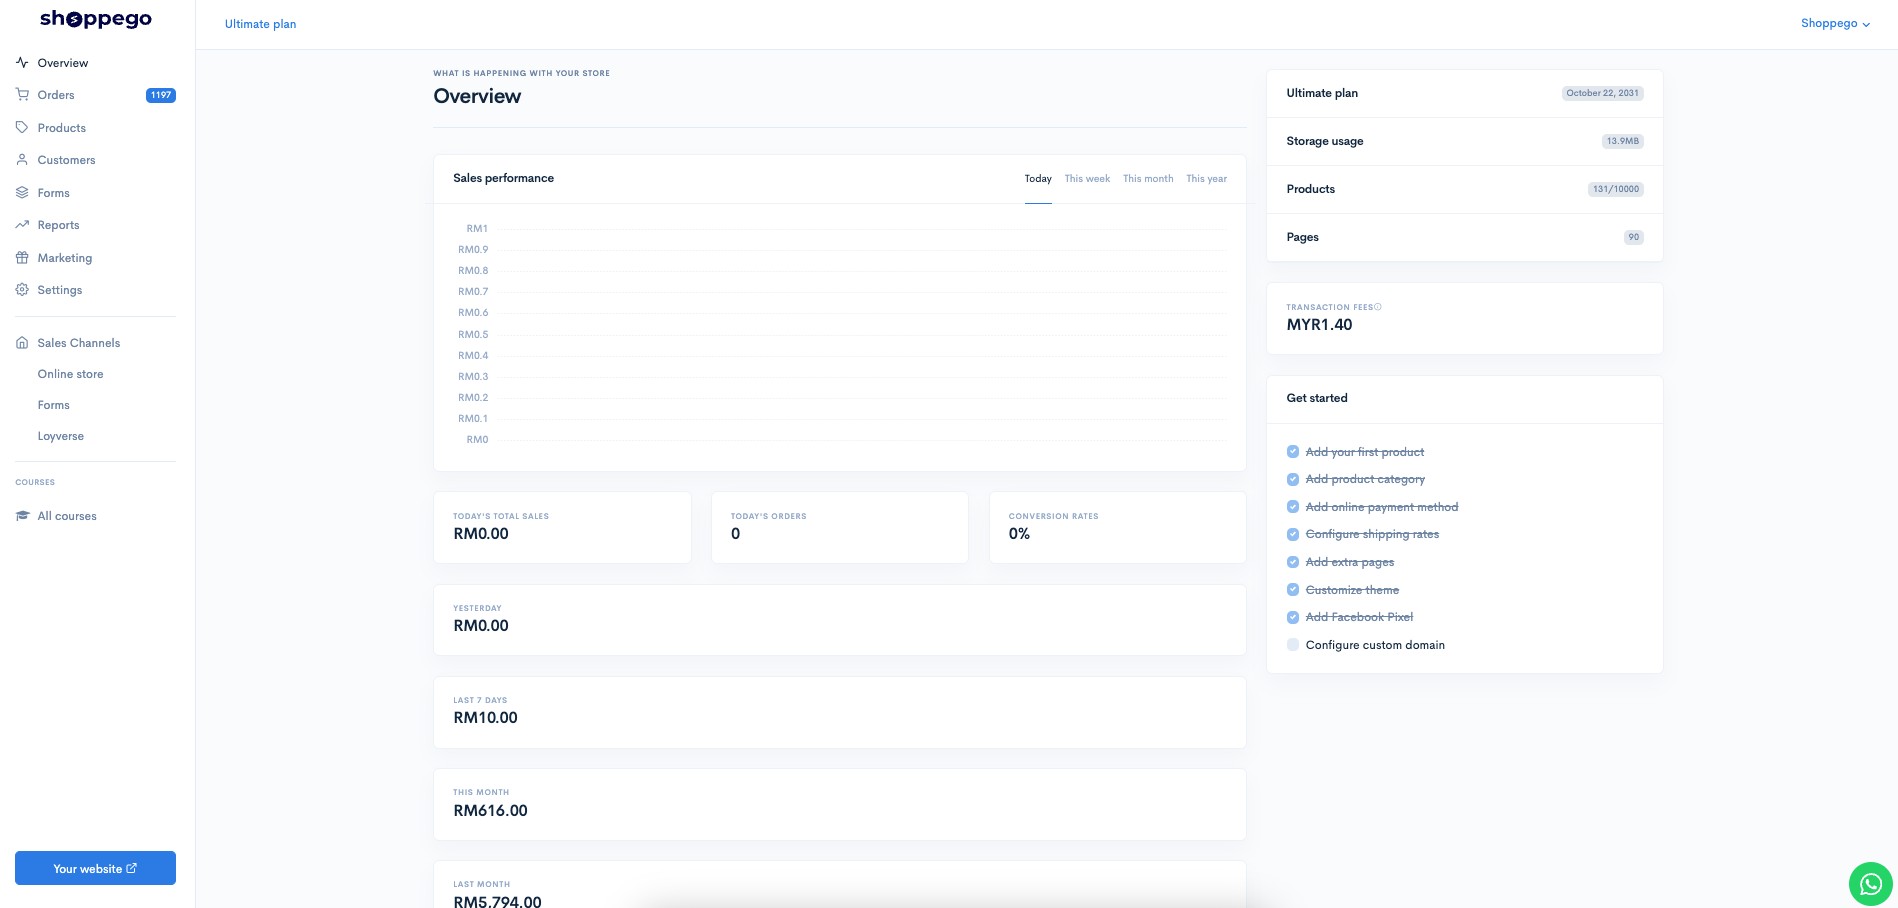
1\. Log in to your Shoppego account.
![](https://3359028955-files.gitbook.io/~/files/v0/b/gitbook-x-prod.appspot.com/o/spaces%2F-Lh09fNwqqta5Vj6Wr8p%2Fuploads%2Fgit-blob-b853fc0189b34fb1d3990f5b1f53fa71deb9d384%2FlCN7aw3FznaFFoOAyya2.jpg?alt=media)

2\. Click on **Products**

![](https://3359028955-files.gitbook.io/~/files/v0/b/gitbook-x-prod.appspot.com/o/spaces%2F-Lh09fNwqqta5Vj6Wr8p%2Fuploads%2Fgit-blob-ed85fb87f9932975c9fe432eb80476f0c54bfd3b%2F3QYpKlTI5mdyrdLeiYts.jpg?alt=media)

3\. Click on the Product for which you want to enter the Express Checkout function.

![](https://3359028955-files.gitbook.io/~/files/v0/b/gitbook-x-prod.appspot.com/o/spaces%2F-Lh09fNwqqta5Vj6Wr8p%2Fuploads%2Fgit-blob-26a14abc50a6d860a5959ebc9ba339513ccd4228%2Fi3S3XPC8L5SjJS1W4hLs.jpg?alt=media)

4\. Click on **Express checkout**

![](https://3359028955-files.gitbook.io/~/files/v0/b/gitbook-x-prod.appspot.com/o/spaces%2F-Lh09fNwqqta5Vj6Wr8p%2Fuploads%2Fgit-blob-63331b50a798a09959bd25f4266257564261b27b%2Fbqs406u5zwylQ0lJnPQ6.jpg?alt=media)

5\. Select the variant that you want your customers to continue to buy and save the link

![](https://3359028955-files.gitbook.io/~/files/v0/b/gitbook-x-prod.appspot.com/o/spaces%2F-Lh09fNwqqta5Vj6Wr8p%2Fuploads%2Fgit-blob-2bff2afddf3c01414e4255d589dda2a89fb84b60%2FiA6m613XvwBy9vep3yLN.jpg?alt=media)

6\. Based on the url link, you only need to save the product variant ID.For example the link you get is [**https://mirfaith.myshoppegram.com/cart/57085:1**](https://mirfaith.myshoppegram.com/cart/57085:1)

So you need to save **57085** only to use in the next step.

### Settings on Page Builder <a href="#penetapan-pada-page-builder" id="penetapan-pada-page-builder"></a>

1\. Log in to your Shoppego account.

![](https://3359028955-files.gitbook.io/~/files/v0/b/gitbook-x-prod.appspot.com/o/spaces%2F-Lh09fNwqqta5Vj6Wr8p%2Fuploads%2Fgit-blob-b853fc0189b34fb1d3990f5b1f53fa71deb9d384%2FlCN7aw3FznaFFoOAyya2.jpg?alt=media)

2\. Click on **Online Store** -> **Pages**

![](https://3359028955-files.gitbook.io/~/files/v0/b/gitbook-x-prod.appspot.com/o/spaces%2F-Lh09fNwqqta5Vj6Wr8p%2Fuploads%2Fgit-blob-2f8191bbc0c8e548025e830d2511fd6b37e22bdb%2FYW5MKHAFthkHAX6ApmOw.jpg?alt=media)

3\. Click on the Edit button on the pages where you want to enter the Express Checkout function.

![](https://3359028955-files.gitbook.io/~/files/v0/b/gitbook-x-prod.appspot.com/o/spaces%2F-Lh09fNwqqta5Vj6Wr8p%2Fuploads%2Fgit-blob-94890d9a218fd4973fdc1c0a7de91d8209bbe0fb%2F-MCttEX0SDOWDHKQJMB1.png?alt=media)

4\. Klik on **Edit with Builder**

![](https://3359028955-files.gitbook.io/~/files/v0/b/gitbook-x-prod.appspot.com/o/spaces%2F-Lh09fNwqqta5Vj6Wr8p%2Fuploads%2Fgit-blob-fe2a021936f9cfe048d02f49e313c938ec7bebef%2F6Ciuq7MNuHo6Vk382w6t.png?alt=media)

5\. Next, you will be taken to your page builder page. To set the express checkout, you can drag the Button element to the space provided.

![](https://3359028955-files.gitbook.io/~/files/v0/b/gitbook-x-prod.appspot.com/o/spaces%2F-Lh09fNwqqta5Vj6Wr8p%2Fuploads%2Fgit-blob-082a2d0eb2f3a29ecb18dc96b0850723ff3c2eea%2F-MCtu97i3dGXrIXrW7bZ.png?alt=media)

![](https://3359028955-files.gitbook.io/~/files/v0/b/gitbook-x-prod.appspot.com/o/spaces%2F-Lh09fNwqqta5Vj6Wr8p%2Fuploads%2Fgit-blob-06e98b3b69cbc413fefd8c648e22921c07037c72%2F-MUMbvfcKeFEwZTkkOtu.png?alt=media)

6\. Click on the Button element that you just dragged and insert into your body content. Type the text you want to appear on the Button element.

![](https://3359028955-files.gitbook.io/~/files/v0/b/gitbook-x-prod.appspot.com/o/spaces%2F-Lh09fNwqqta5Vj6Wr8p%2Fuploads%2Fgit-blob-06e98b3b69cbc413fefd8c648e22921c07037c72%2F-MUMbvfcKeFEwZTkkOtu.png?alt=media)

7\. In the URL section you can enter/cart/add? Id = **enter the ID you obtained in step 1**

(Example: [https://mirfaith.myshoppegram.com/cart/add?id=57085](https://mirfaith.myshoppegram.com/cart/57085:1))

{% hint style="info" %} <mark style="color:red;">\*\*Attention\*\*</mark>: Make sure to include \*\*add?id=\*\* in your URL.
{% endhint %}

8\. In the **Target column** you can select the **Same Tab** or **New Tab** option while, in the other settings column you can set according to your design.

9\. When done you can click **Preview** to experiment with setting the button.

![](https://3359028955-files.gitbook.io/~/files/v0/b/gitbook-x-prod.appspot.com/o/spaces%2F-Lh09fNwqqta5Vj6Wr8p%2Fuploads%2Fgit-blob-ba9ab599fd51b3dc29a41910274eee4e9fcade71%2F-MUMcBoPZtIWDpZnnO1W.jpg?alt=media)

## Additional Info

If you want to make your customers continue to enter 3 products directly into their cart you can separate each product variant ID with a comma symbol.

For example: /cart /add? Id = **57085,12345**

{% hint style="info" %}
**\*\*A maximum of only&#x20;**<mark style="color:red;">**3 ID variants**</mark>**&#x20;can be entered.**

\*\*If you want to **add quantity** in your **Express Cart**, make sure you modify it and press the **Update Cart button.**
{% endhint %}