> For the complete documentation index, see [llms.txt](https://docs.shoppego.my/tutorials/llms.txt). Markdown versions of documentation pages are available by appending `.md` to page URLs; this page is available as [Markdown](https://docs.shoppego.my/tutorials/en/online-store/pages/build-pages.md).

# Build pages

{% hint style="info" %}
A **Page** is a place to fill in information such as **Contact Us, About Us, Testimonials,** and **others**.

* Pages can also be used as **landing pages / sales pages.**
* This is because **Pages&#x20;**<mark style="color:red;">**do not have a predetermined design**</mark> such as **images, buttons,** and **others**.
  {% endhint %}

## **Add New Page**

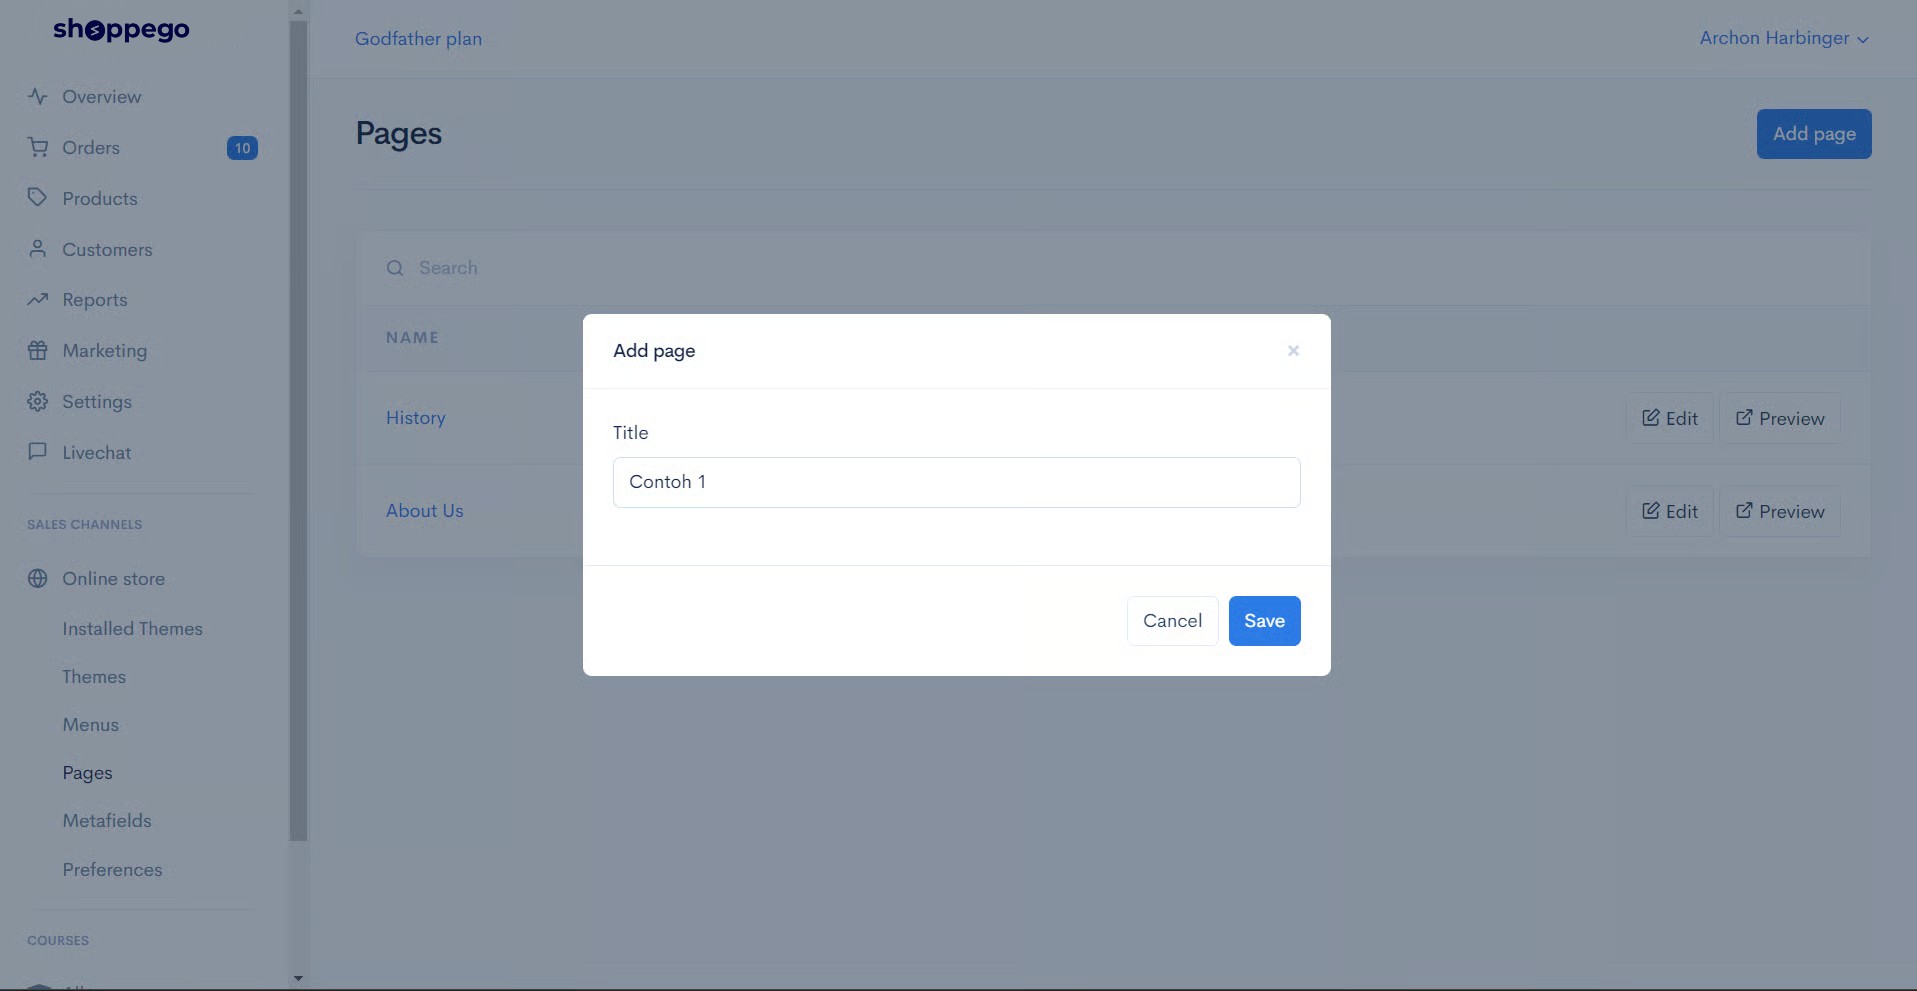
Log in to the Shoppego Dashboard and go to the **Online store** -> **Pages** and click the **Add Page** button

1. Insert page name and save.

<figure><img src="https://3359028955-files.gitbook.io/~/files/v0/b/gitbook-x-prod.appspot.com/o/spaces%2F-Lh09fNwqqta5Vj6Wr8p%2Fuploads%2Fgit-blob-4dcde98108bf575a814b4a77ce7651948fefb149%2FE0Fya38apwUDAkAbi4N9.jpg?alt=media" alt=""><figcaption></figcaption></figure>

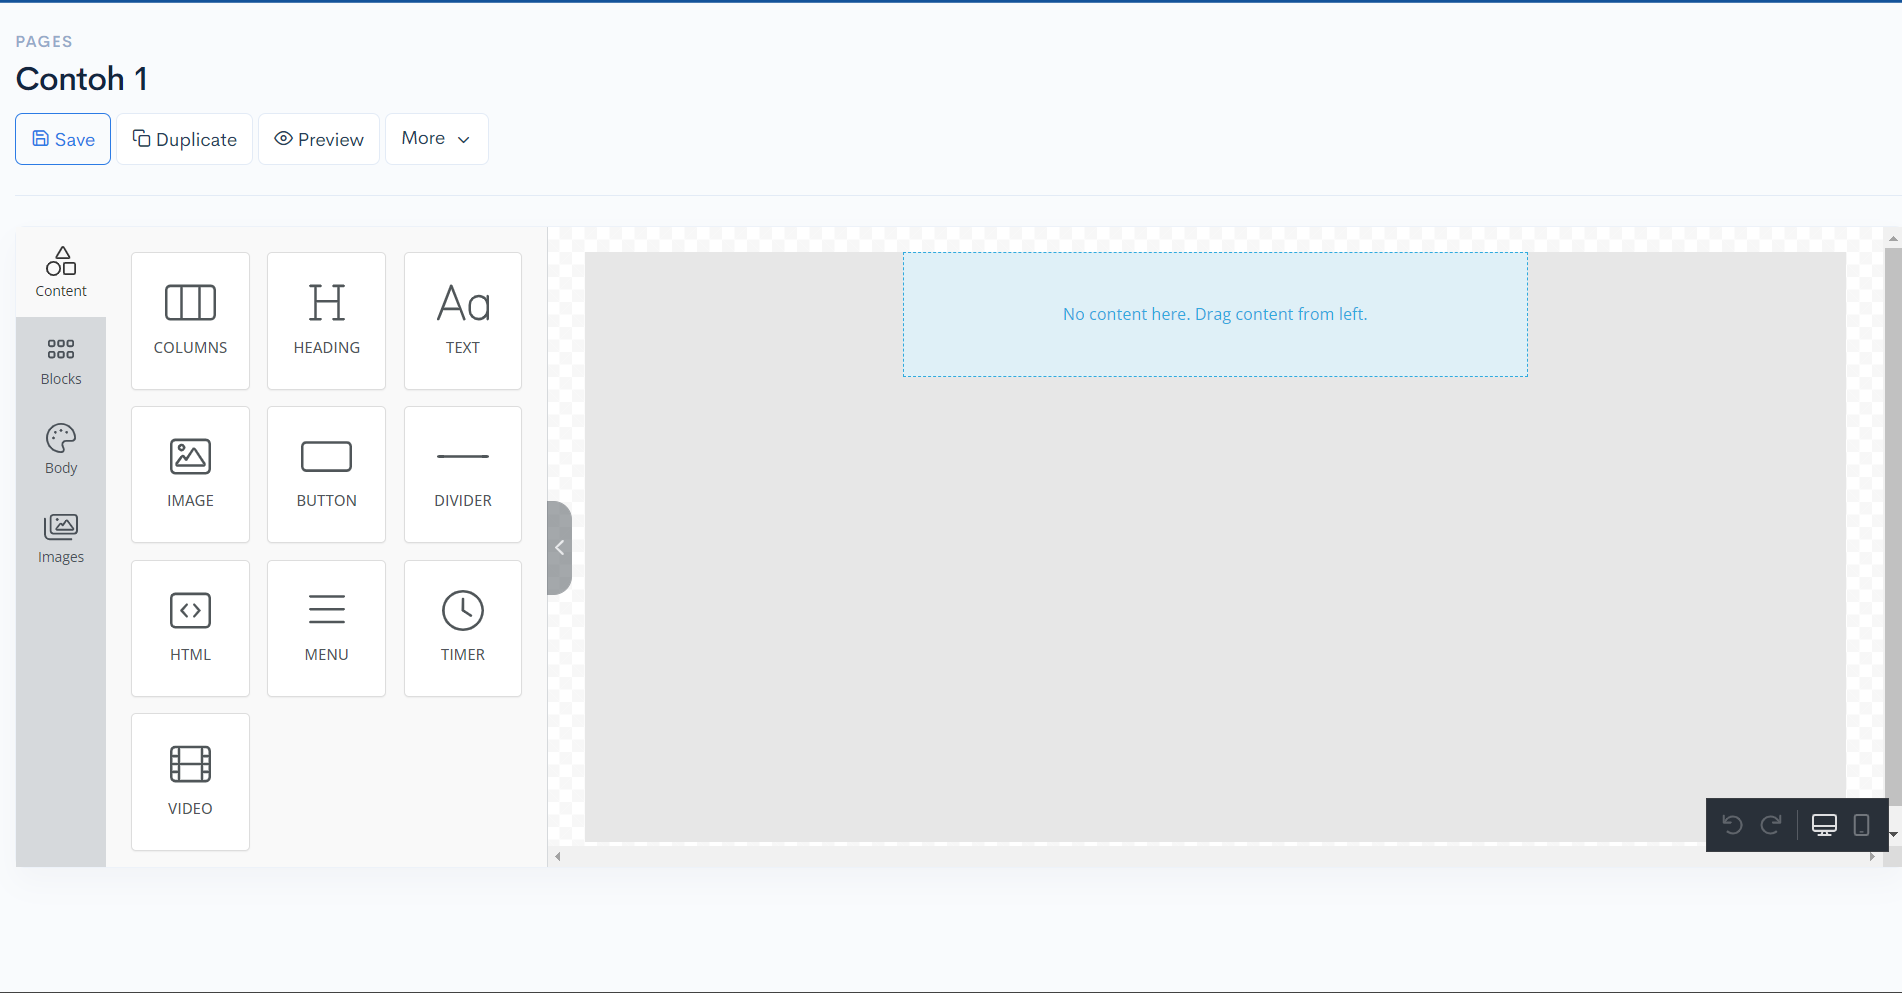
2. You will be taken to the **Builder** page, where you will make any **edits** you want.

<figure><img src="https://3359028955-files.gitbook.io/~/files/v0/b/gitbook-x-prod.appspot.com/o/spaces%2F-Lh09fNwqqta5Vj6Wr8p%2Fuploads%2Fgit-blob-27565f796319b462249ace94e0a47178f4cb3e22%2FPO4YQVErOddSM57rB78I.png?alt=media" alt=""><figcaption></figcaption></figure>

3. Refer to the picture below, to make **settings** on the page you have created, you can **press** the **More** button.

<figure><img src="https://3359028955-files.gitbook.io/~/files/v0/b/gitbook-x-prod.appspot.com/o/spaces%2F-Lh09fNwqqta5Vj6Wr8p%2Fuploads%2Fgit-blob-9e8584323d68d8234d90d9fe4d20a9e81c36ea73%2FFDs5ZD3CvPoMGNgDv7Ep.jpg?alt=media" alt=""><figcaption></figcaption></figure>

### Settings in Page Builder

**Settings** - There are three parts, **Page**, **SEO**, **Redirect**.

<table><thead><tr><th width="154">Setting</th><th>Description</th></tr></thead><tbody><tr><td><strong>Page</strong></td><td>There you can edit the Page name and set whether the Page is to be displayed (<strong>Published</strong>) or hidden (<strong>Hidden</strong>).</td></tr><tr><td><strong>SEO</strong></td><td>You can change the URL link of your Page and also the <strong>Search Engine Optimization (SEO)</strong> settings. For reference, see <a href="https://docs.shoppegram.com/commerce/en/products/seo-snippet"><strong>this link</strong></a>.</td></tr><tr><td><strong>Redirect</strong></td><td>You can bring customers to another page that you want if they enter the link/URL of this page.</td></tr></tbody></table>

<table><thead><tr><th width="150.33333333333331">Setting</th><th width="473">Description</th><th data-type="content-ref"></th></tr></thead><tbody><tr><td><strong>Import JSON</strong></td><td>If you want to get the <strong>JSON for the landing page</strong>, you can refer to the tutorial at <a href="https://docs.shoppegram.com/commerce/en/online-store/metafields/page-metafield"><strong>this link</strong></a>.</td><td><a href="/tutorials/en/online-store/pages/import-json.md">Import JSON</a></td></tr><tr><td><strong>Delete Page</strong></td><td>You will <strong>delete the Page</strong> you created along with everything in it.</td><td></td></tr><tr><td><strong>Duplicate</strong></td><td>You will <strong>create a copy</strong> of your original Page.<br>**<mark style="color:red;"><strong>Note</strong></mark>: If you turn on the <strong>Toggle Page Builder content</strong>, you will <strong>copy all the content</strong> of the <strong>original Page</strong> to the <strong>new Page copy</strong>.</td><td></td></tr></tbody></table>
