> For the complete documentation index, see [llms.txt](https://docs.shoppego.my/tutorials/llms.txt). Markdown versions of documentation pages are available by appending `.md` to page URLs; this page is available as [Markdown](https://docs.shoppego.my/tutorials/en/settings/custom-domain/exabytes.md).
# Exabytes
There are 3 sections for this setup:
* Section 1: Obtain values for **CNAME record**
* Section 2: Configuration on **Exabytes**
* Section 3: Configuration on **Shoppego**
{% hint style="info" %}
\*\***Warning**: Ensure that you have purchased your **domain and it is ready for setup**. If you have **purchased a ".com" domain**, you can **proceed** with this tutorial.
{% endhint %}
If the Malaysian domain is like "**.my, .com.my, .net.my**" you need to **setup your DNS records** in your **MYNIC account** or you can **contact your domain provider** to make the changes.
**Starting February 26, 2026, every Shoppego user only need to do a CNAME record and every store/website will have the same CNAME record value/setting.**
## Section 1: CNAME Record Values
1. You can log in to the **Shoppego Dashboard.**
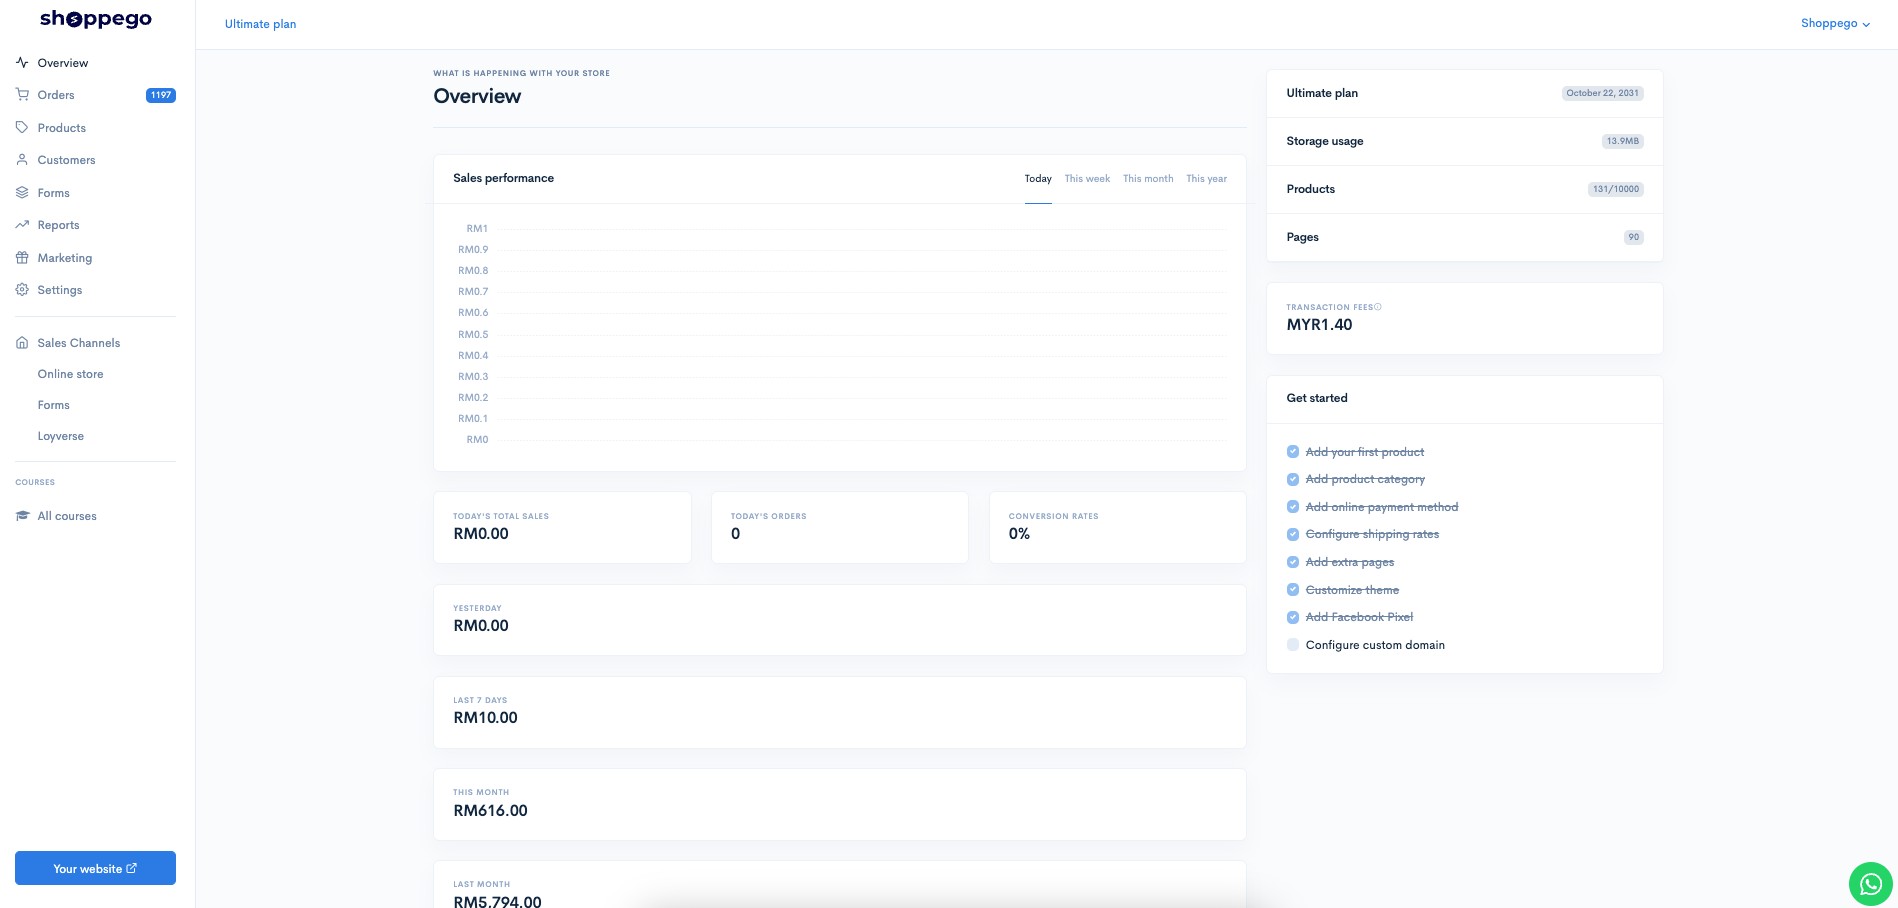
2. Click on **Settings**.
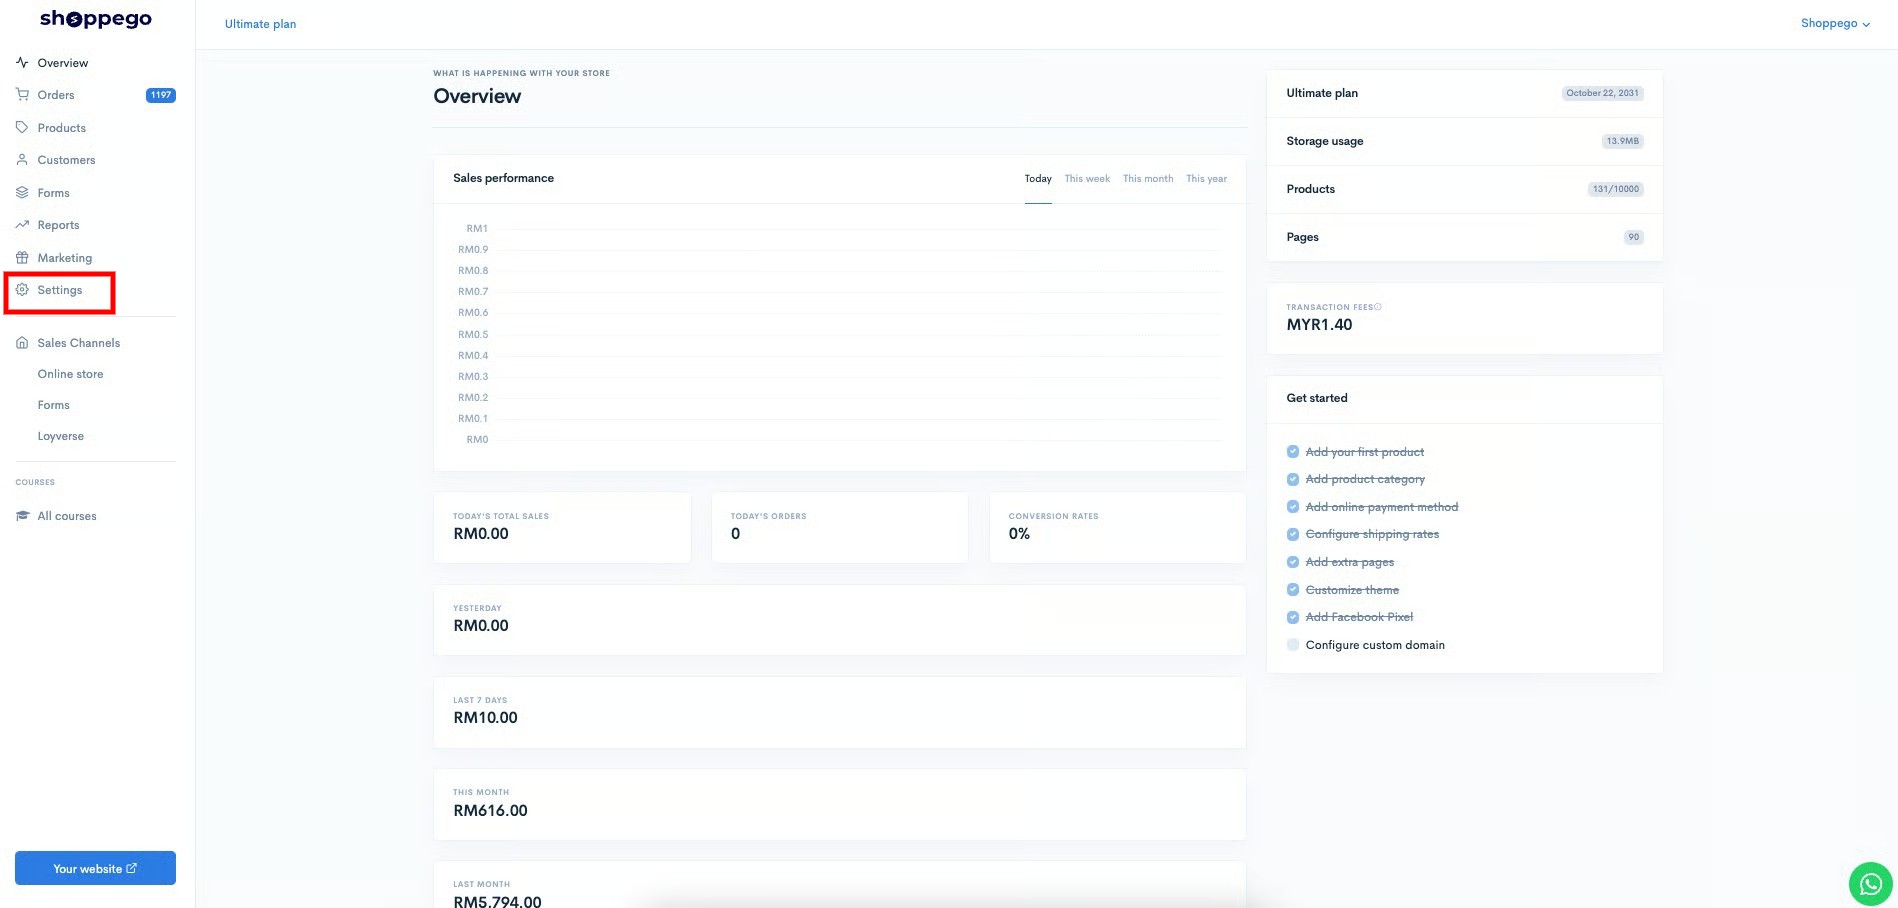
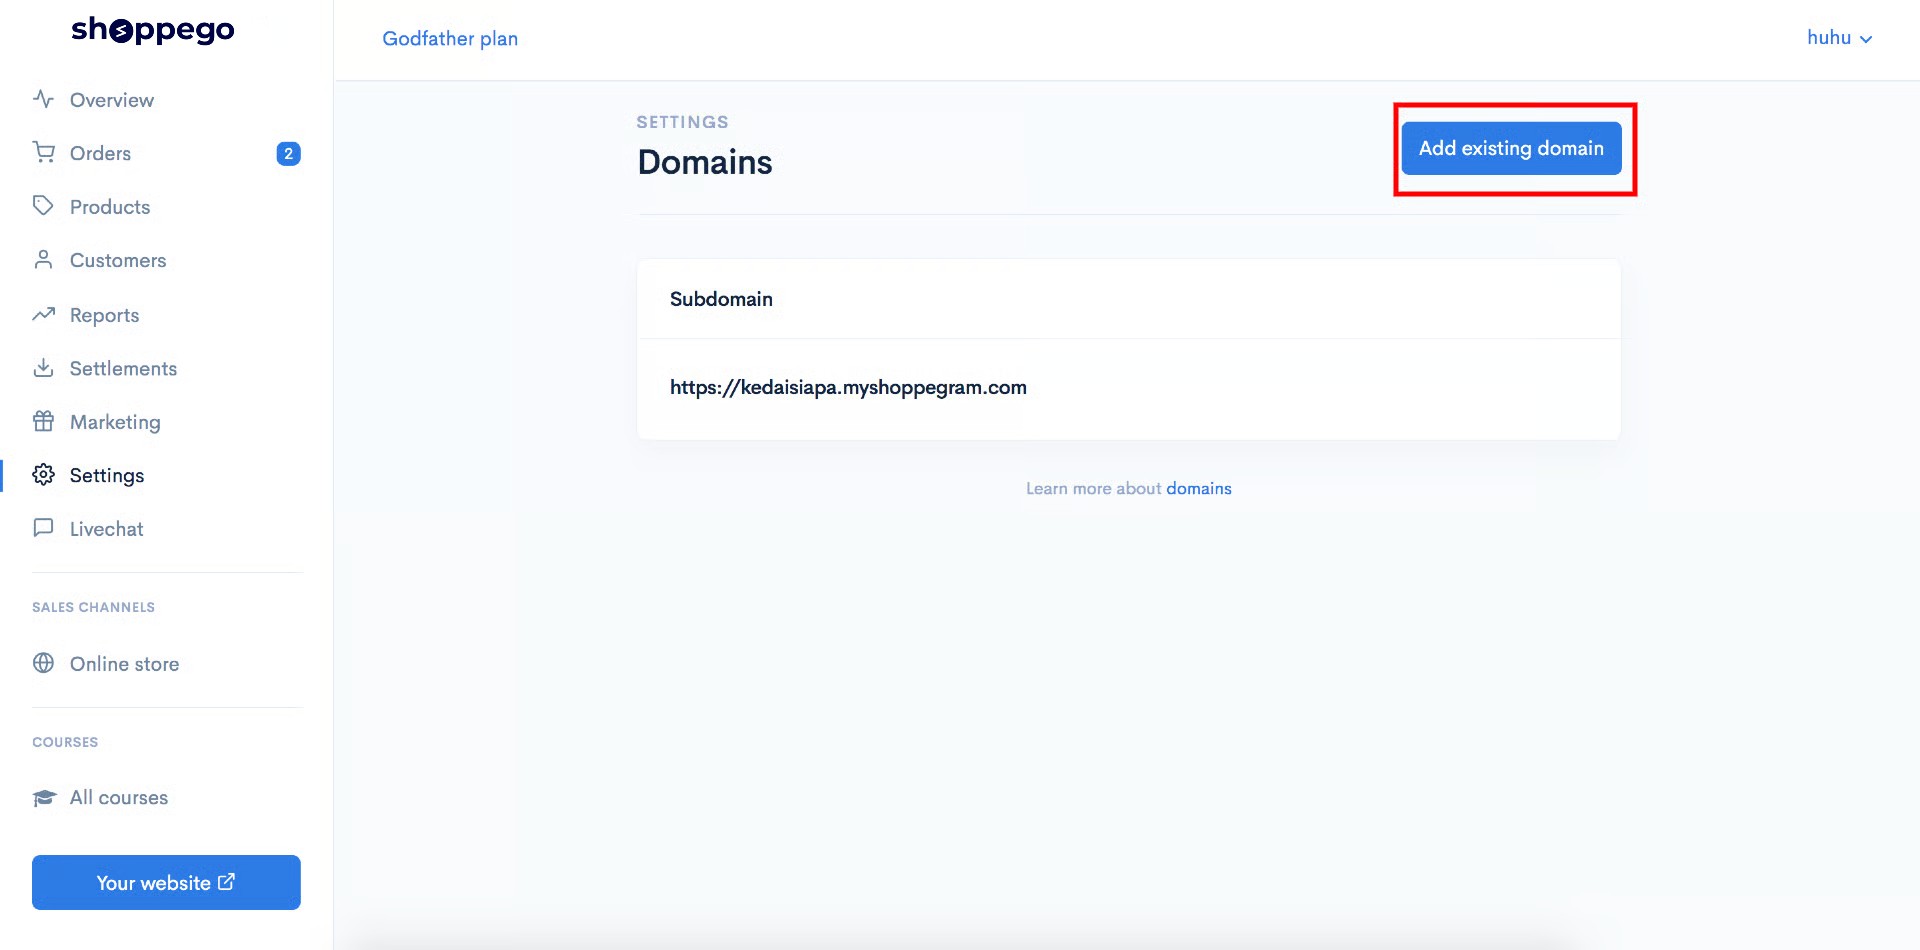
3. Click on **Custom domain.**

4. Click on **Add existing domain**.
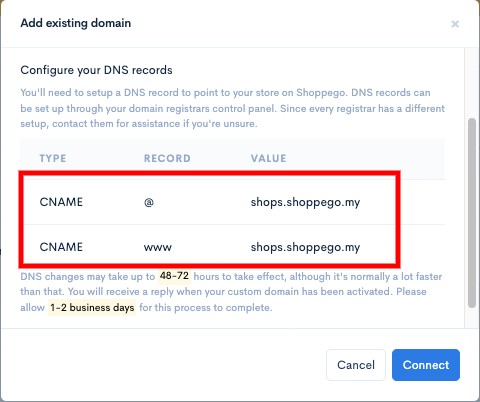
5\. Later, you will see **a popup** that has the values for your **CNAME record.**
{% hint style="info" %}
**CNAME designation in the domain provider.**\
1: If the **CNAME value** is **@**, enter **your domain name** or "**@**" in the **CNAME field** in the domain provider.
{% endhint %}
{% hint style="info" %}
You need to **save the values** for the **CNAME record**, so that you can enter them in the DNS record of your domain in the domain provider system later.
{% endhint %}
## Section 2: Configuration on Exabytes
1. Log in to your **Exabytes account.**
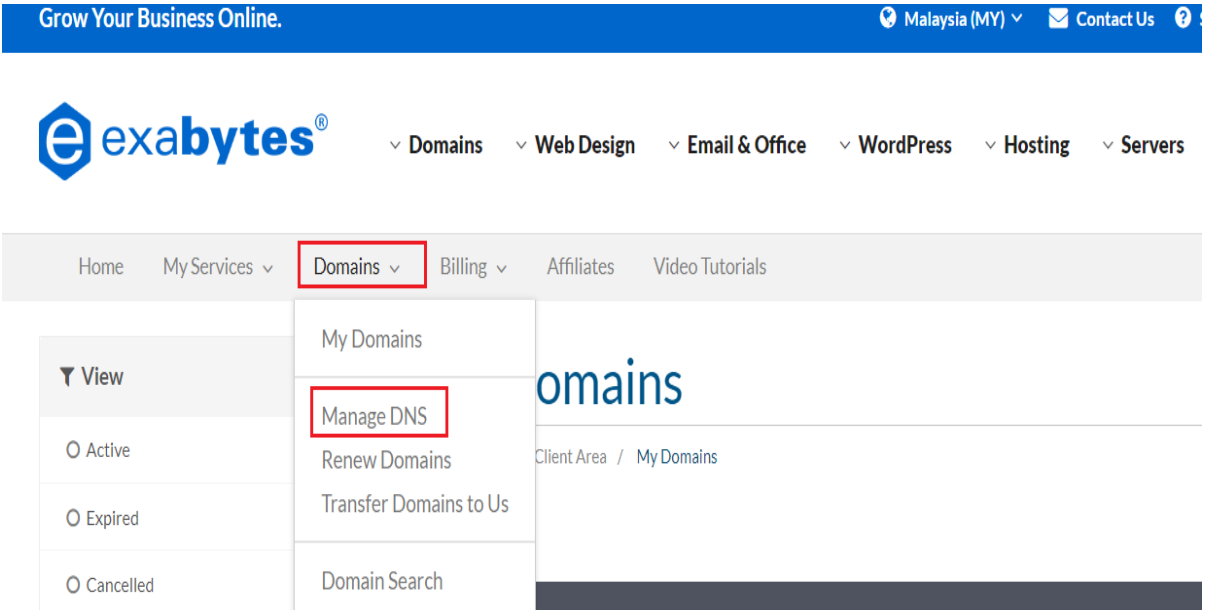
2. Click on **Domains -> Manage DNS.**
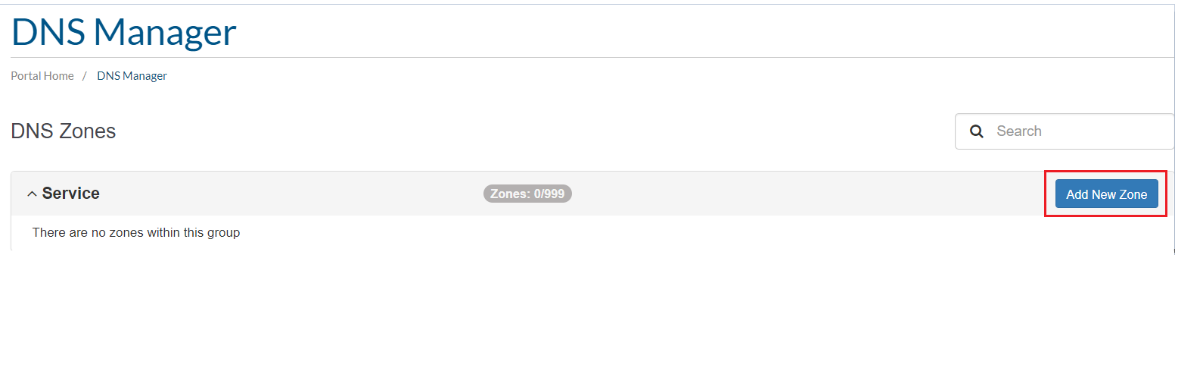
3\. After that, you need to click on the **Add New Zone** button.
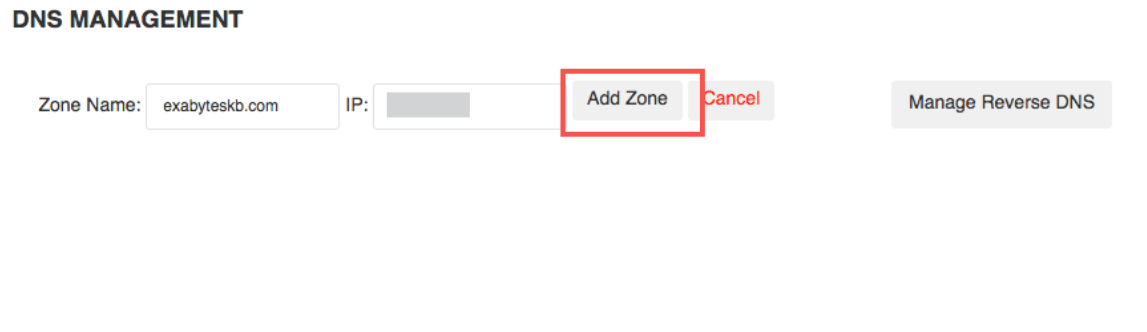
4. In the **DNS Management** section, you can enter the **Zone Name** using the following:
* **Zone Name**: Your Domain Name
* **IP:** **A Record** or **IP Address** [(Section 1: A Record and CNAME Record Values)](#section-1-a-record-and-cname-record-values)
After that, you need to click on **Add Zone** to save your configuration.
5. After the Zone has been added, you can **add the A Record** and **CNAME Record** by simply **clicking on the Edit button.**
6. In the **Add Record** section, you can click on the dropdown and **select A (1)**, the information for the **A Record** is as follows:
{% hint style="info" %}
**If your domain provider cannot set a CNAME record for the host to the main domain or @, you can transfer DNS management to the Cloudflare system. You can refer to this link for an example of setting:** [**https://docs.shoppego.com/en/settings/custom-domain/cloudflare**](https://docs.shoppego.com/en/settings/custom-domain/cloudflare)
{% endhint %}
### 1: CNAME Record Configuration
1. **A Record:**
* **Name**: @ or your own domain name
* **Type**: A
* **TTL**: Default
* **Target**: **shops.shoppego.my**
### 2 : CNAME www Record Configuration(Optional)
1. **CNAME Record** :
* **Name** : www
* **Type** : CNAME
* **TTL** : Default
* **Target** : shops.shoppego.my
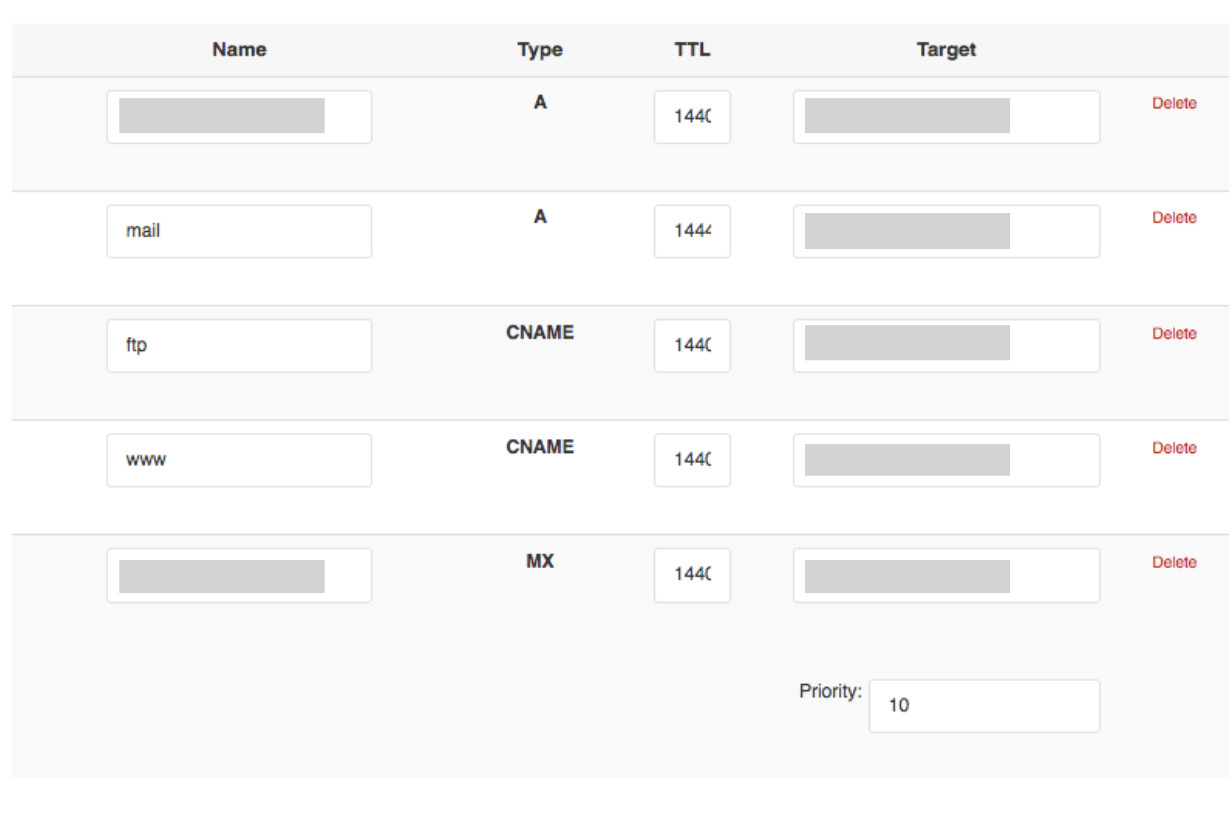
7. List of your record should be as follows :
After your domain is ready to use, you can then enter your domain in the settings in Shoppego.
{% hint style="info" %}
After you're done, you can click **Save Changes**. After that, you can refer to the [Propagation Time.](#propagation-period)
{% endhint %}
## Propagation Period
You only need to wait for a **period of 48 hours** for the setting to be read and your domain can be used before you make a Custom domain setting in Shoppego.
The shortest time your domain can **be used is within 1 hour**. If not, you need to **wait for a period of 48 hours to 72 hours.** You can check the status of your domain propagation through the link we provided ()on domain anda melalui link yang telah kami berikan ()
## Additional information:
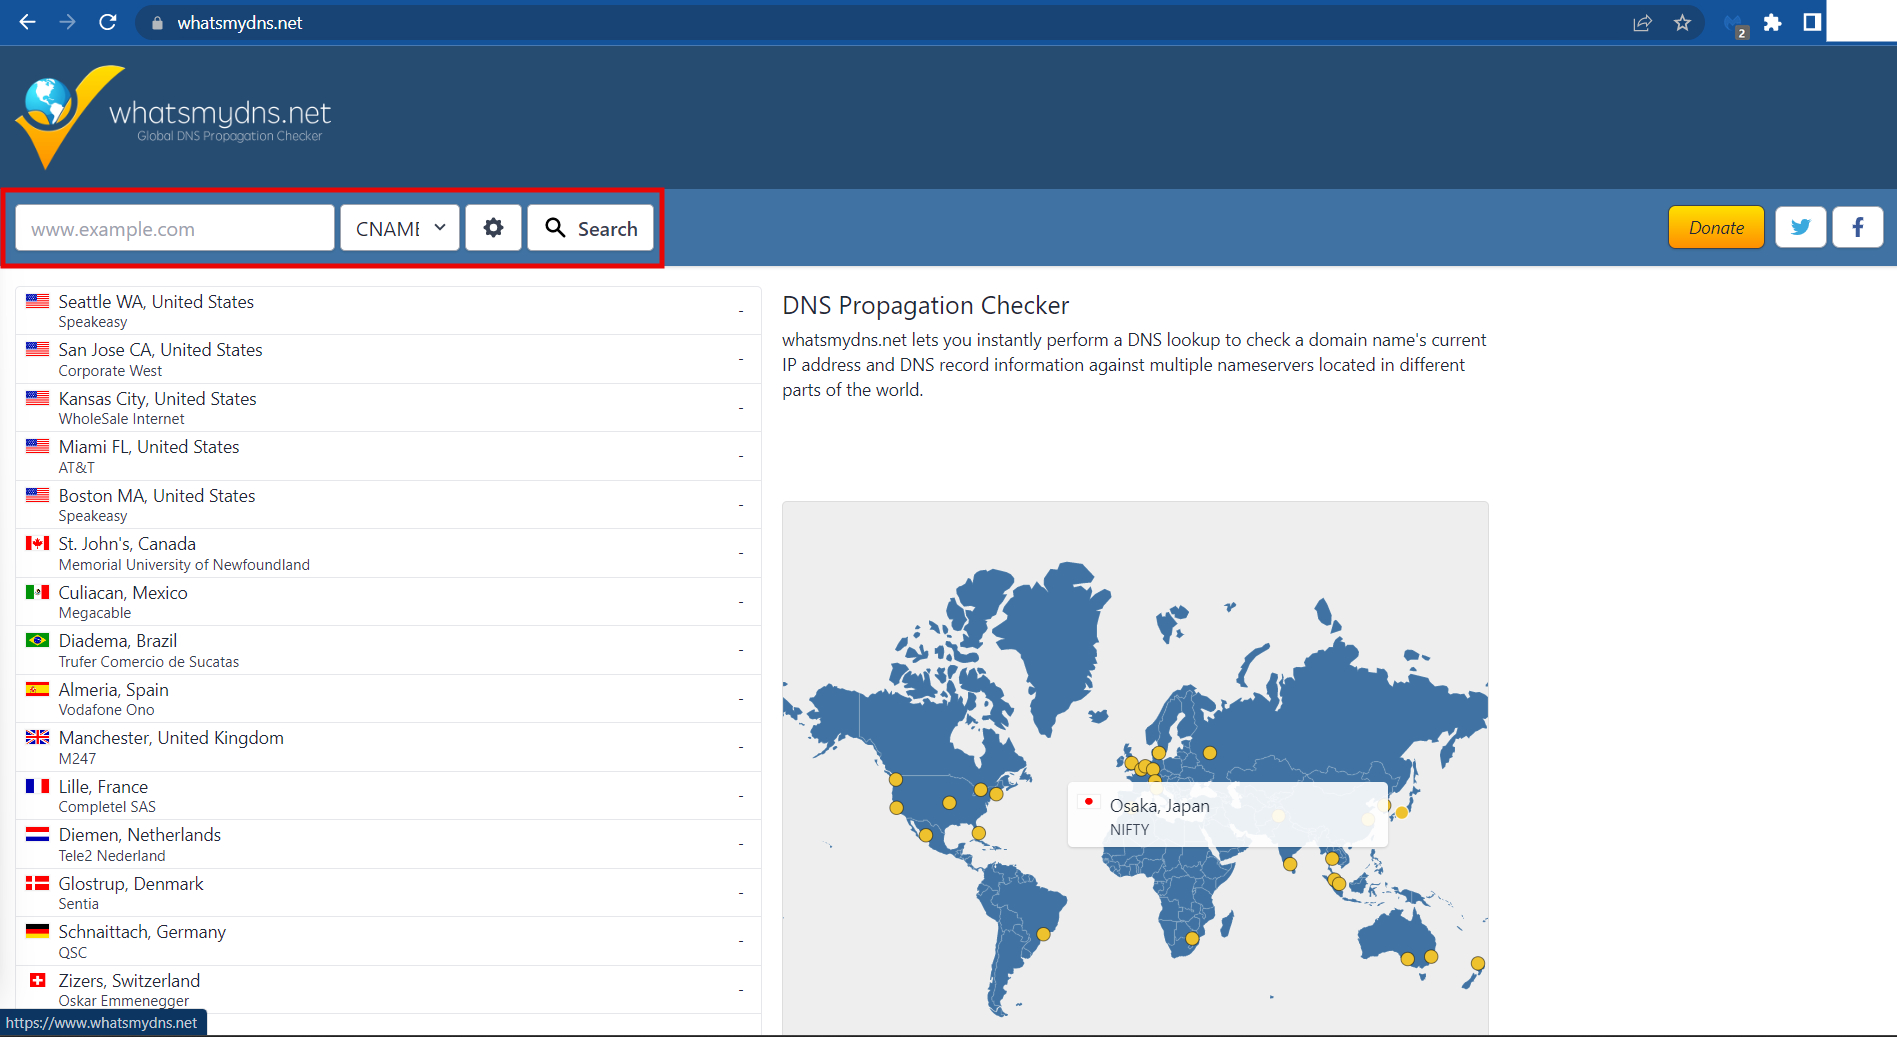
To ensure that your DNS is directed to Shoppego, you can [Check your DNS Here ](https://www.whatsmydns.net/)and make sure the **DNS displayed is the one you have set**.
1. To check your DNS: You can click this link: Check your [**DNS here**](https://www.whatsmydns.net/) or
{% hint style="info" %}
You can enter your **domain name** (with www and **without www**) in the space provided. Make sure you have made the changes to the CNAME record check.
{% endhint %}
## Part 3: Setup in Shoppego
1. Log in to the Shoppego Dashboard -> **Settings(1)** and click **Custom Domains(2).**
\
2\. On this Domains page, click on the **Add existing domain** button.
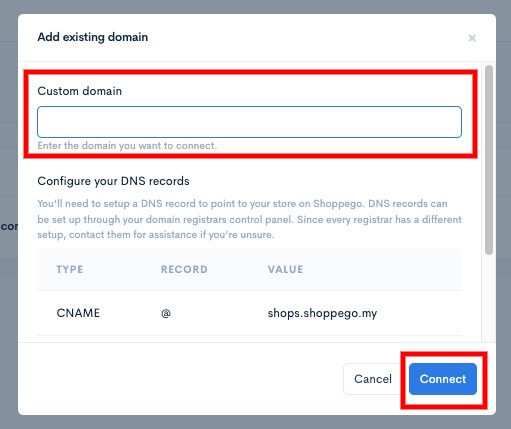
3\. The Add existing domain pop-up will appear. Fill in the name of your website in the **Custom Domain** field and click the **Connect** button
{% hint style="info" %}
In the space below, you need to **enter your domain** name **without**** www**.
{% endhint %}
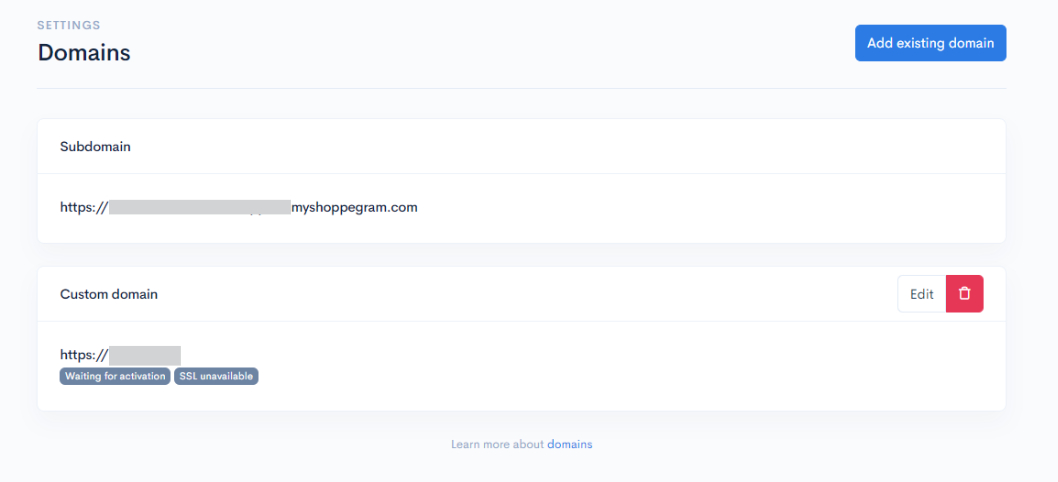
4. When you have successfully entered your domain, the display will change as below:
{% hint style="info" %}
\*\***Note**: If there are **no issues**, the team will take **5-10 minutes to activate your domain**. If your domain still isn't activated within this timeframe, please contact our team.
{% endhint %}
5. If your **Custom Domain** is **ready** and **can be used**, an example display like the following will appear.
{% hint style="success" %}
The words "**Connected**" and "**SSL activated**" will turn **green**. This condition will only occur if all the **settings that have been made are correct.**
{% endhint %}