> For the complete documentation index, see [llms.txt](https://docs.shoppego.my/tutorials/llms.txt). Markdown versions of documentation pages are available by appending `.md` to page URLs; this page is available as [Markdown](https://docs.shoppego.my/tutorials/en/settings/invoice.md).

# Invoice

In Commerce, you have access to make sure customers receive invoices for their orders.\
\
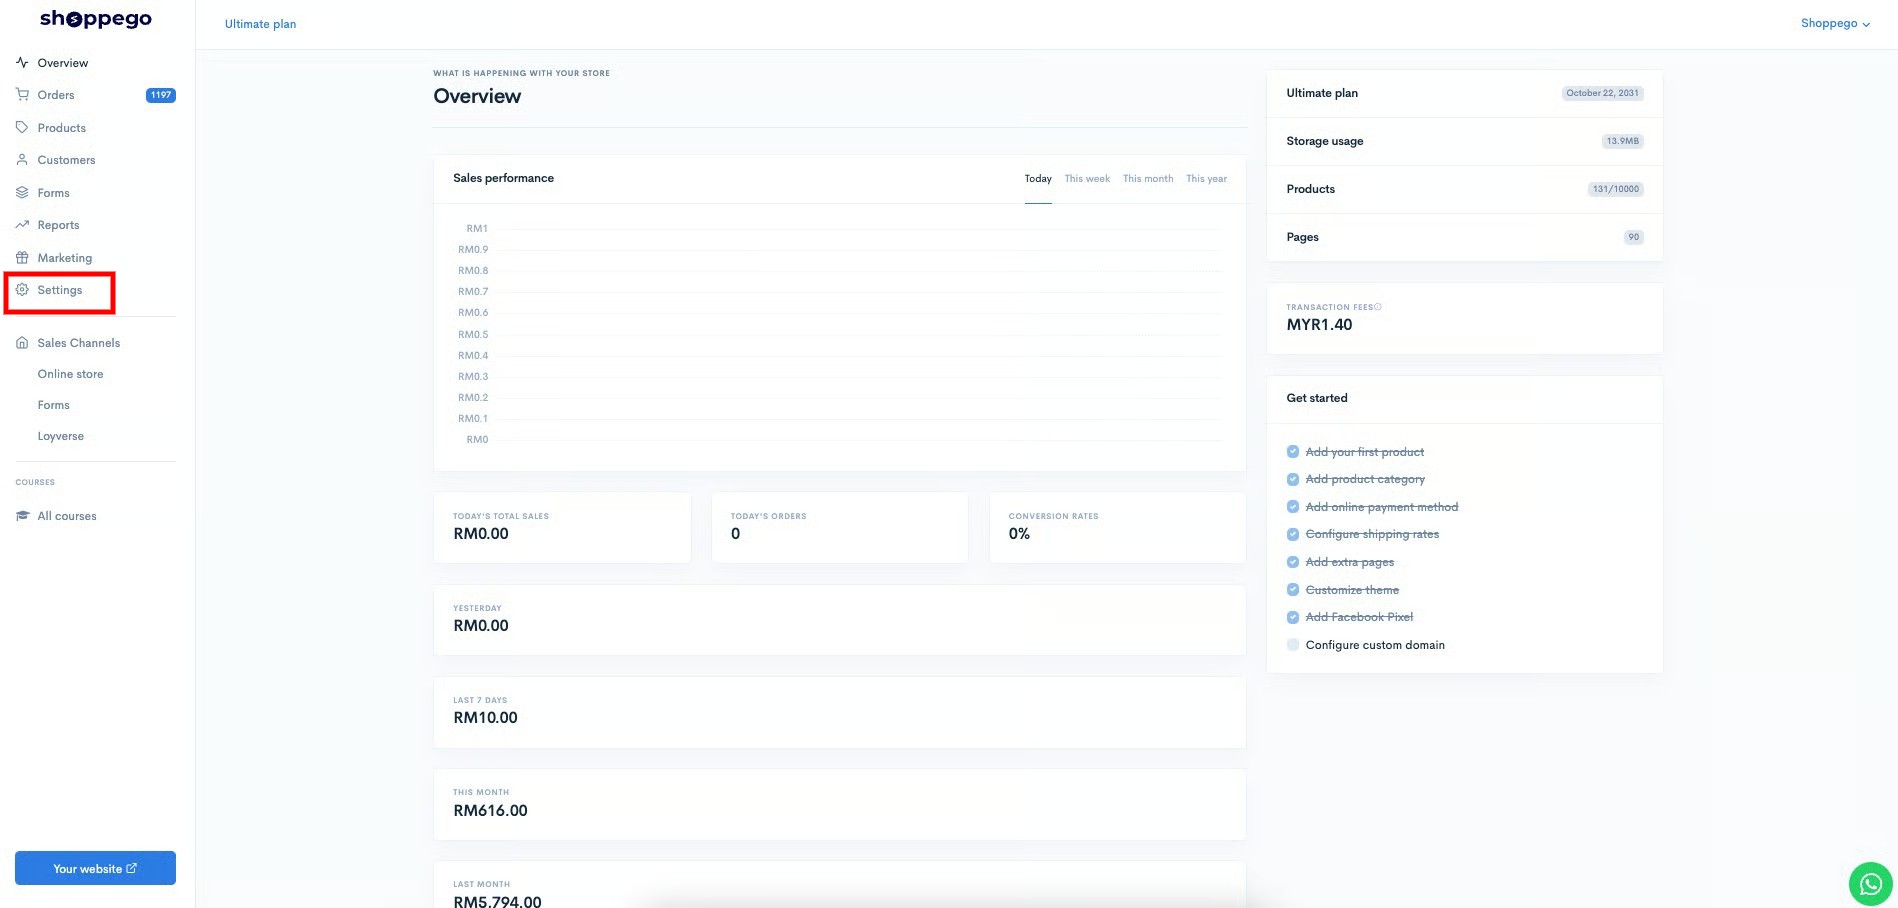
To access the settings section, you can go to :

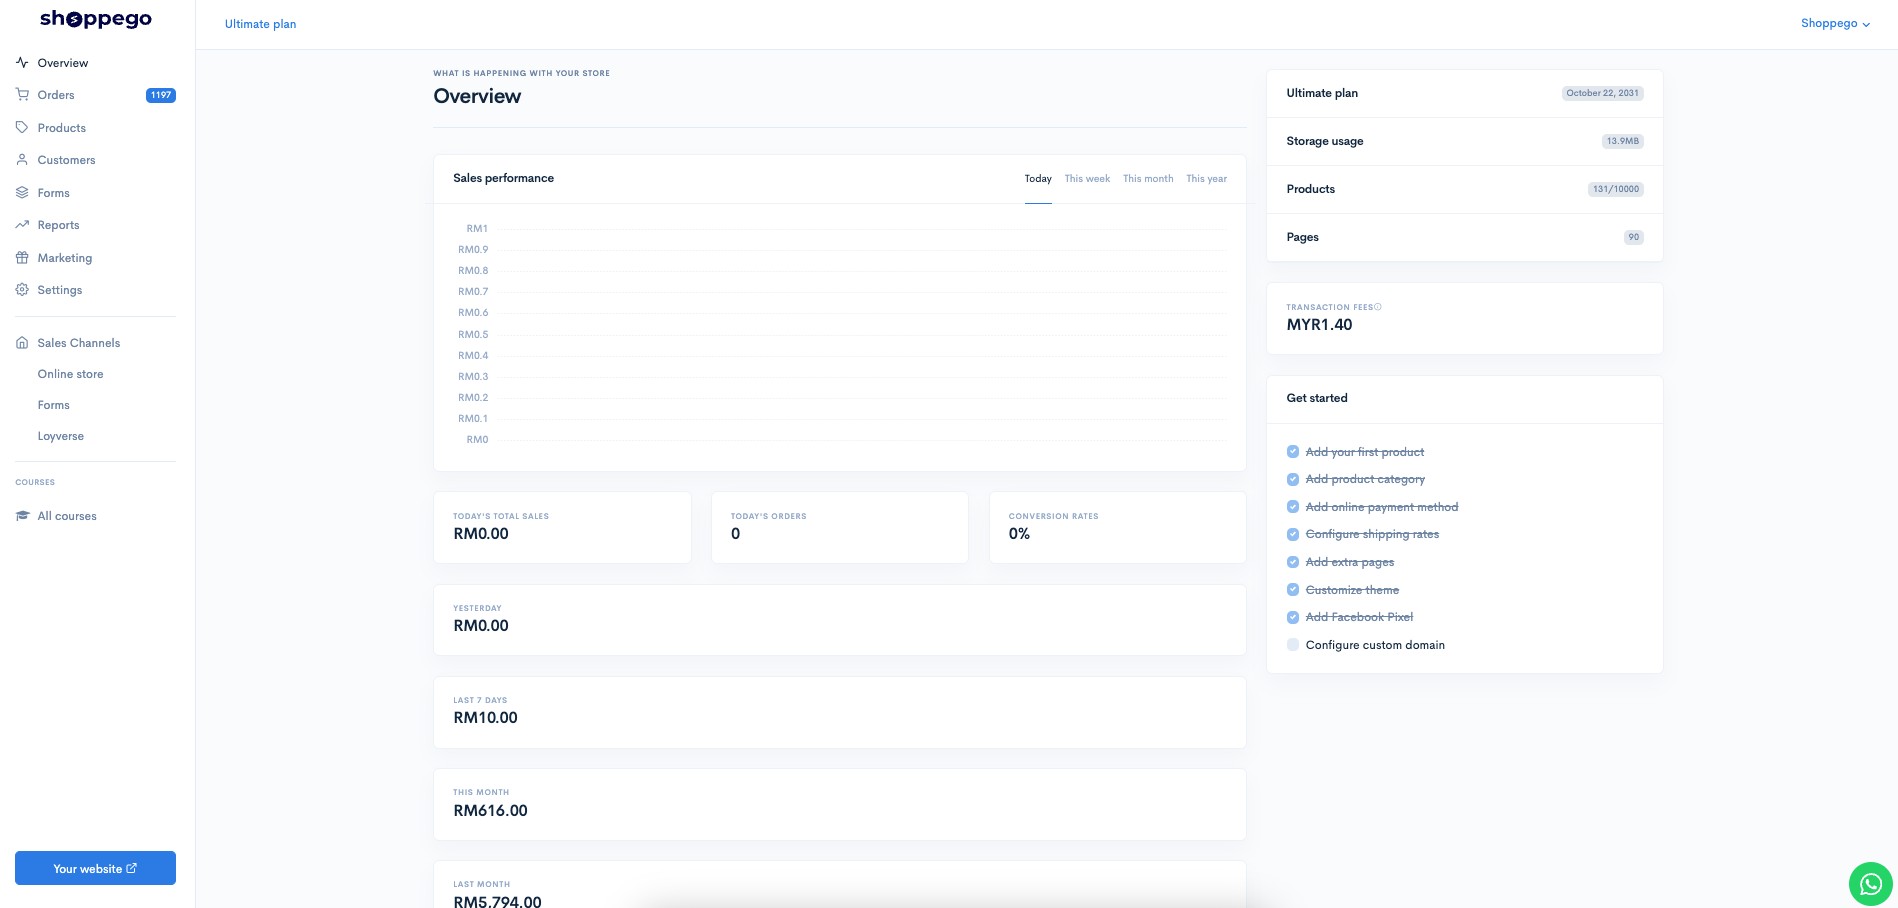
1. Dashboard Commerce
![](https://3359028955-files.gitbook.io/~/files/v0/b/gitbook-x-prod.appspot.com/o/spaces%2F-Lh09fNwqqta5Vj6Wr8p%2Fuploads%2Fgit-blob-b853fc0189b34fb1d3990f5b1f53fa71deb9d384%2FlCN7aw3FznaFFoOAyya2.jpg?alt=media)

2. Click on **Settings**

![](https://3359028955-files.gitbook.io/~/files/v0/b/gitbook-x-prod.appspot.com/o/spaces%2F-Lh09fNwqqta5Vj6Wr8p%2Fuploads%2Fgit-blob-9ae8b66b366958146673b78216b78ff0e8f12b90%2FVsK9zs6aZtUfKK1hcCiM.jpg?alt=media)

3. Click on **Invoice**

![](https://3359028955-files.gitbook.io/~/files/v0/b/gitbook-x-prod.appspot.com/o/spaces%2F-Lh09fNwqqta5Vj6Wr8p%2Fuploads%2Fgit-blob-22626e32ac6463a27a2e0ab4731fd448cb6323fe%2Fu4dWcQ6rDxSc4I9jnyIp.jpg?alt=media)

4. Next, you will be able to see a display for you to make some changes to your invoice.

| Parameter                                     | Description                                                                                                                          |
| --------------------------------------------- | ------------------------------------------------------------------------------------------------------------------------------------ |
| Title                                         | You can enter text for the title of your file itself.                                                                                |
| Notes                                         | You can enter a note in your customer's invoice file.                                                                                |
| Always display customer name                  | You can tick this toggle if you want to display the customer's name on the invoice.                                                  |
| Display email and phone number(if applicable) | You can tick this toggle if you want to display the customer's email and phone number on the invoice.                                |
| Billing address heading                       | You can enter the text you want on the heading details of your customer on the invoice.                                              |
| Display shipping address                      | You can tick this toggle if you want to display the customer's shipping address on the invoice.                                      |
| Company details > Heading                     | You can enter the text you want on the heading details of your company on the invoice.                                               |
| Always display country name                   | You can tick this toggle if you want to display the country name on each address on the invoice.                                     |
| Enable                                        | You can tick this toggle to ensure that for every "Order Confirmation" notification of your customers, they will receive an Invoice. |

![](https://3359028955-files.gitbook.io/~/files/v0/b/gitbook-x-prod.appspot.com/o/spaces%2F-Lh09fNwqqta5Vj6Wr8p%2Fuploads%2Fgit-blob-79da7b639e38fa0017e02c62b01a3c24ea4c9cfa%2FvvRpkgZgtGgd62np8J0p.png?alt=media)

5. Once you have made the changes you want you can click **Save**

![](https://3359028955-files.gitbook.io/~/files/v0/b/gitbook-x-prod.appspot.com/o/spaces%2F-Lh09fNwqqta5Vj6Wr8p%2Fuploads%2Fgit-blob-c6c3b0880bab941556c5033ea57732183a55f725%2FLWLiCkjjTrReM9IWAFXF.jpg?alt=media)

Once you have activated the Invoice setting, it means that for every "Order Confirmation" notification email to your customers, they will receive the Invoice file attached to the email.

![](https://3359028955-files.gitbook.io/~/files/v0/b/gitbook-x-prod.appspot.com/o/spaces%2F-Lh09fNwqqta5Vj6Wr8p%2Fuploads%2Fgit-blob-33968cc7f9690a719cf2957f056ebe78e228bbfd%2FjD0h7dSugFip9Fm0WTqh.jpg?alt=media)

This is an example of the invoice display that your customers will be able to see.

<figure><img src="https://3359028955-files.gitbook.io/~/files/v0/b/gitbook-x-prod.appspot.com/o/spaces%2F-Lh09fNwqqta5Vj6Wr8p%2Fuploads%2Fgit-blob-011b42148a1b82d85c2e9c42394f40f7ad568d9a%2FBJ74PfhjvGxPU4Y2Vwtj.jpeg?alt=media" alt=""><figcaption></figcaption></figure>

## Additional Information

You can also manually send the invoice to your customer through the customer's own order page by going to:

1. Shoppego dashboard

<figure><img src="https://3359028955-files.gitbook.io/~/files/v0/b/gitbook-x-prod.appspot.com/o/spaces%2F-Lh09fNwqqta5Vj6Wr8p%2Fuploads%2Fgit-blob-b853fc0189b34fb1d3990f5b1f53fa71deb9d384%2FlCN7aw3FznaFFoOAyya2.jpg?alt=media" alt=""><figcaption></figcaption></figure>

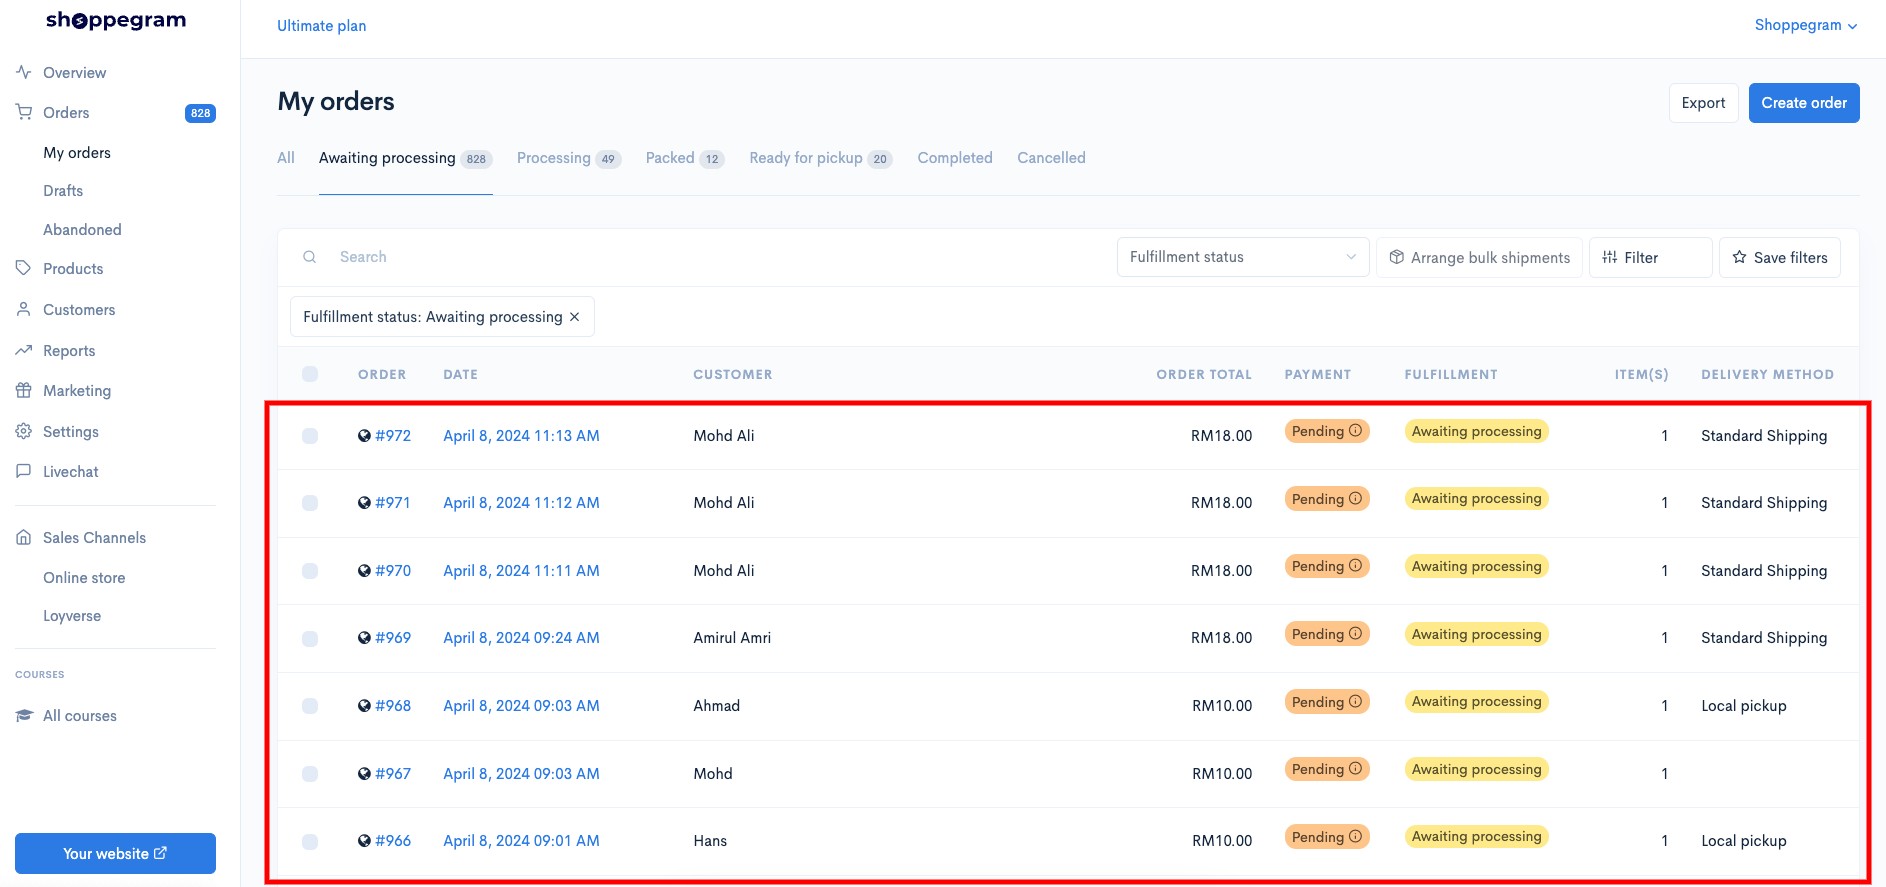
2. Click on **Orders**

<figure><img src="https://3359028955-files.gitbook.io/~/files/v0/b/gitbook-x-prod.appspot.com/o/spaces%2F-Lh09fNwqqta5Vj6Wr8p%2Fuploads%2Fgit-blob-364d54cc2a0e51e8a074388bb3337ab9c83f81ef%2FUc5Da8M0ePktDHxePQHj.jpg?alt=media" alt=""><figcaption></figcaption></figure>

3. Click on the customer's order

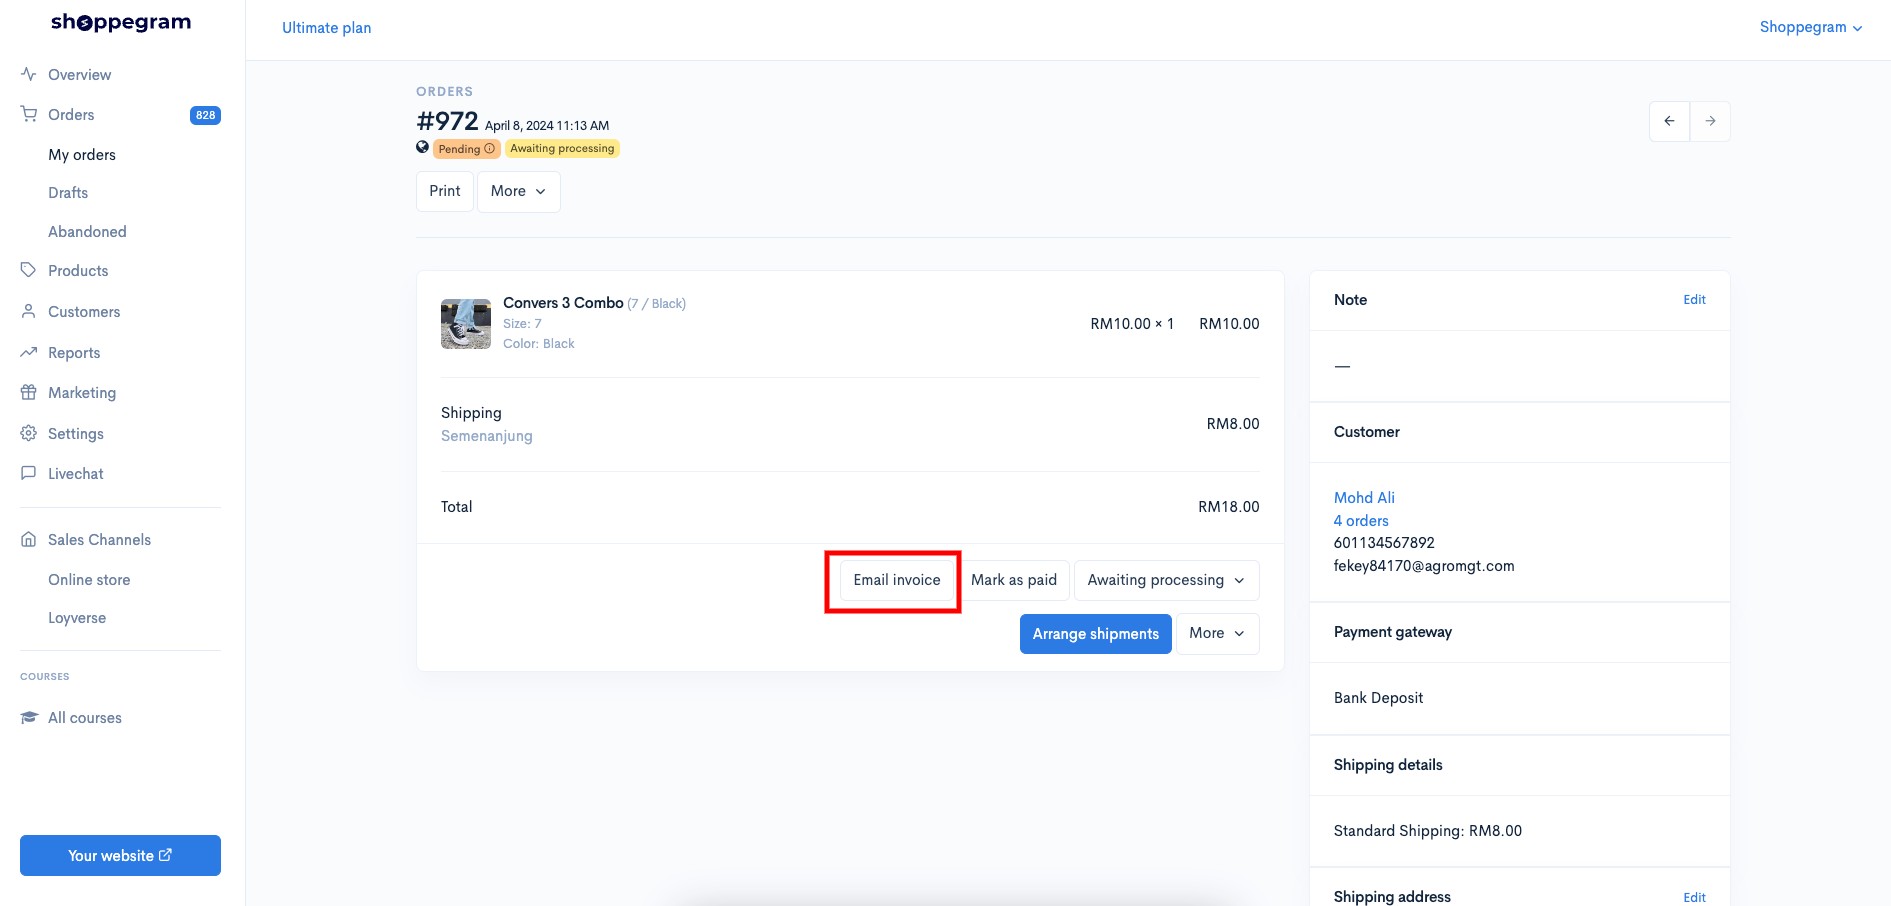
<figure><img src="https://3359028955-files.gitbook.io/~/files/v0/b/gitbook-x-prod.appspot.com/o/spaces%2F-Lh09fNwqqta5Vj6Wr8p%2Fuploads%2Fgit-blob-a57d37859ba4a3841ec7f6b9b2dbac48929de6c2%2F36ibsxltPQYUHr0acwmp.jpg?alt=media" alt=""><figcaption></figcaption></figure>

4. Click on the **Email invoice** button

<figure><img src="https://3359028955-files.gitbook.io/~/files/v0/b/gitbook-x-prod.appspot.com/o/spaces%2F-Lh09fNwqqta5Vj6Wr8p%2Fuploads%2Fgit-blob-323d7b905d00a8009483c7d5bb69157552dfd514%2FdfXY73EphdhuDFuP5K90.jpg?alt=media" alt=""><figcaption></figcaption></figure>

5. Next, after you **make sure the email entered is correct**, you can click on the **Send** button and the customer will receive the invoice in their email.

{% hint style="info" %}
**Info: You can send to&#x20;**<mark style="color:red;">**3 emails at once**</mark>**&#x20;by separating each email with a&#x20;**<mark style="color:red;">**comma symbol**</mark>**&#x20;"**<mark style="color:red;">**,**</mark>**" or&#x20;**<mark style="color:red;">**press Enter on your keyboard**</mark>**&#x20;for each email that has been entered.**
{% endhint %}

<figure><img src="https://3359028955-files.gitbook.io/~/files/v0/b/gitbook-x-prod.appspot.com/o/spaces%2F-Lh09fNwqqta5Vj6Wr8p%2Fuploads%2Fgit-blob-bd2b238ebf96016f357abf0c49edaff404872ff8%2Fy6Wuj8LPIRGJ5W0BMy49.jpg?alt=media" alt=""><figcaption></figcaption></figure>

For information, for prefilled emails that are automatically entered by the system, it will prioritize emails that come from:

1. Checkout
2. Customer information
3. Shipping address